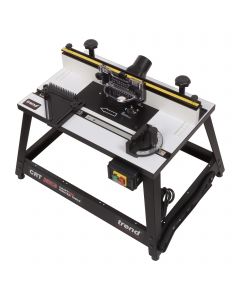
Cutting with a Router Table
The router table allows you to produce a variety of cuts with ease. View below some of the different cutters and techniques used to get the most out of your router table.
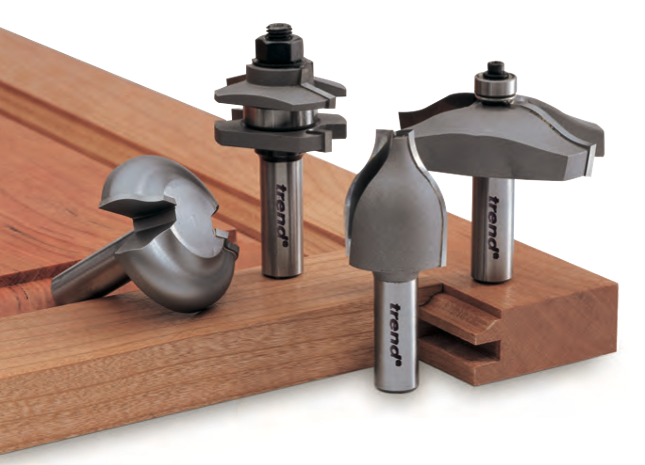
Bearing Guided Cutters
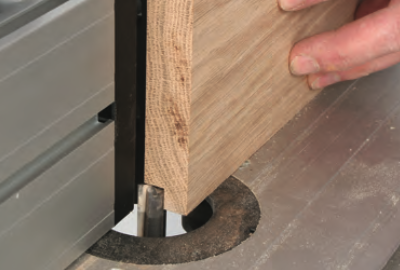
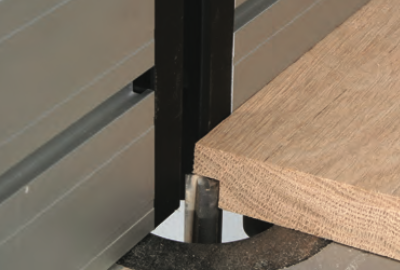
Bearing guided cutters are ideal for use in table-mounted routers, but always remember to feed against the rotation of the bit.
However, remember that any edge defects in the timber will be transferred to the cut if you use a bearing, whereas they will probably be bridged out if you use the wider table fence as a guide. For straight work, the bearing face should be set flush with the fence faces using a steel rule to align it.
Avoid leaving the bearing set slightly proud of the fence faces, as the cutter will cut deeper at each end of the pass, as the material will move out and drop back against the fence face as it picks up and leaves the bearing.
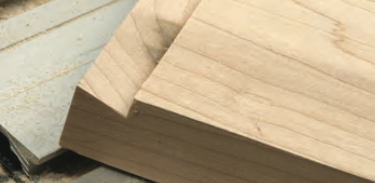
Edge rebating
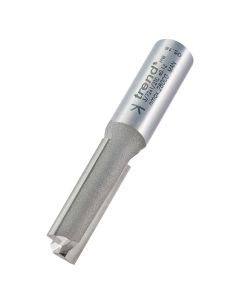
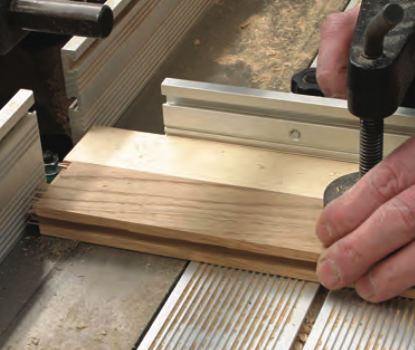
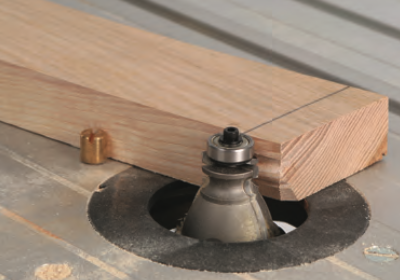
Rebates can be cut on the table using single or two flute straight cutters.
Choose a cutter equal to, or slightly larger in diameter than the width of the rebate. Raise the cutter to a suitable height to make the initial cut 3 to 4 mm (1/8 to 3/16 inch) deep. Set the width of the rebate from the face of the fence to the furthest tip of the cutter.
The workpiece can either be held vertically against the fence or flat on the table with the rebate edge against the fence face. Having made the first pass, raise the cutter by a similar amount until the full rebate depth is reached.
Shaped workpieces can be rebated or moulded by removing the back fence and using bearing guided cutters or a template set-up. In this case a lead-in pin fixed onto the table near the cutter is necessary to give initial support until the cut is established.
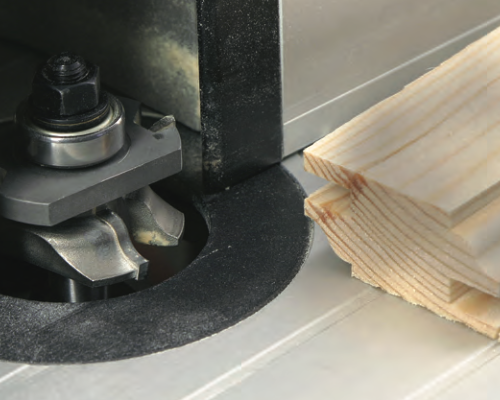
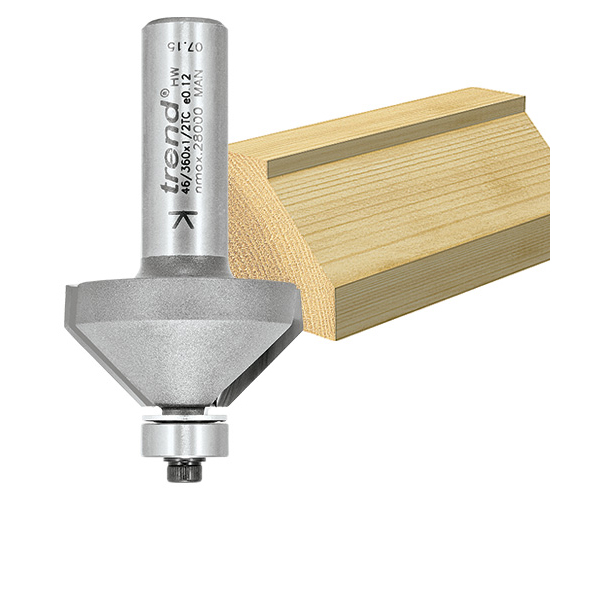
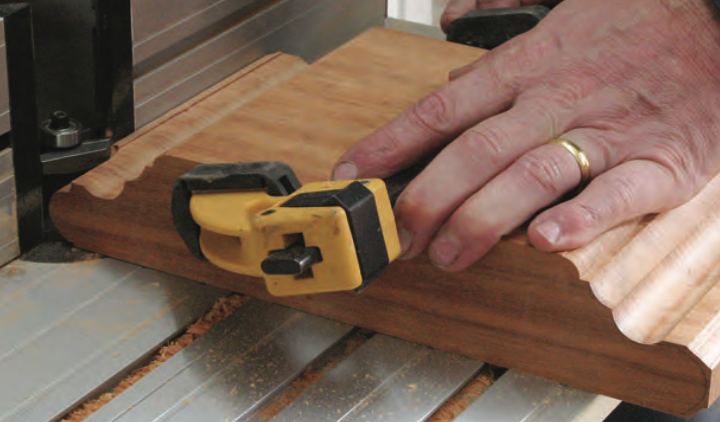
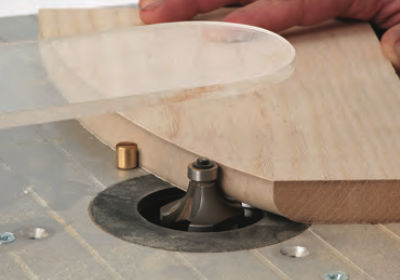
Decorative edge mouldings
Decorative mouldings can be run in a similar fashion to rebates, with the workpiece held either vertical against the fence or flat on the table. Depending on the cutter profile, this can often be used to change or reverse the mould profile.
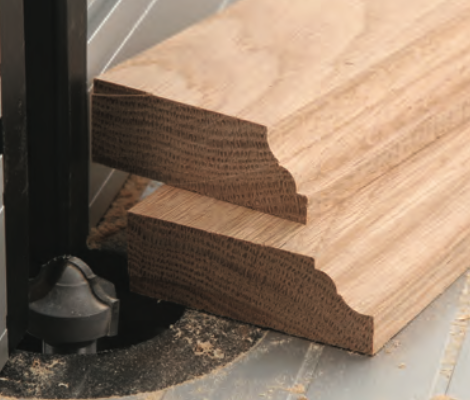
For instance, a 60° bit can produce a 30° cut if it is used on edge, or an ogee will cut two different shapes depending whether it is used flat or on its side.
When moulding the full edge of the workpiece, a shaped lead out block should be fitted to the out-feed face of the fence to take up the depth of material removed and prevent any sharp or fine profile detail being damaged as it slides against the fence face. Always avoid running feather edges against the fence; these are best run using a sliding carriage or a template and guided cutter.
The profile can also be altered by presenting the work at different angles to the cutter, but in this case a workholder should be used to maintain the angle throughout the pass. These workholders offer a safe method of holding the workpiece at a specific angle when guiding it against a straight fence or guide bearing. These are usually one of two types:
Carriage: Designed to slide on the table with the workpiece clamped to it. It can be run against the edge of the table, or alternatively, guided by a slide batten running in the mitre fence groove.
Fixed support: Clamped on the face of the table. This supports the work at an angle while it is run against the table fence.
Composite mouldings
Composite mouldings can be cut using several differently shaped cutters to make up the required profile, but always think ahead and work out the best sequence for cutting each part of the profile.
This will enable you to make the best use of the remaining flat faces of the work piece as guide edges before they are finally cut away. In some instances the last cut may leave an inadequate edge that needs a scribed support.
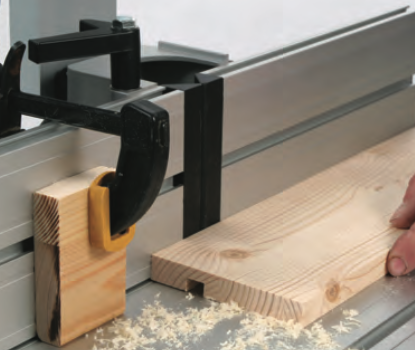
Grooves and Dados
These should be cut with the face edge of the workpiece or a square end against the fence.

Set the cutter height for the first pass and make the cut, keeping the face of the work flat against the table and the guide edge square to the fence. If necessary, to avoid break-out at the end of the cut, a scrap batten can be clamped against the rear edge and passed across the cutter with the work.
Alternatively, the sliding mitre fence can be used with a parallel waste batten held firmly against it. There will obviously be some limitation to the width of the workpiece using this method, depending on the distance between the mitre fence face and the cutter. Use the same technique for angled dado cuts as well.
For stopped cuts draw registration marks on the fence to indicate the stopping points, or fix up stops for absolute precision.
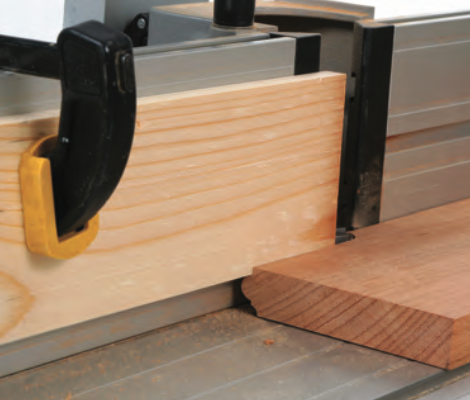
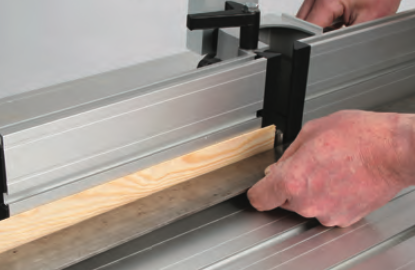
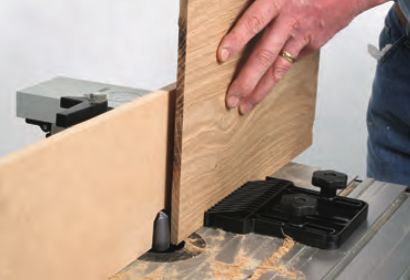
Edge Planing
For edge planing and trimming operations, a thin false guide strip can be fixed to the out-feed table fence.
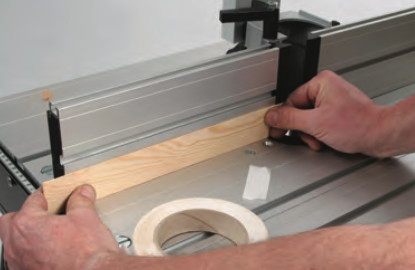
This needs to be no-more than 1/16“ thick, as this will be the most that should be machined off across the full depth of an edge in one pass. Use a two flute cutter with cutting edges slightly longer than the thickness of the edge, and as big a diameter as possible to minimise chatter.
Fix the packing strip to the fence with double sided tape, then use a steel rule held against the face of the packing to set one cutting edge of the cutter against the rule edge, leaving it proud of the in-feed face; this is the depth of cut.
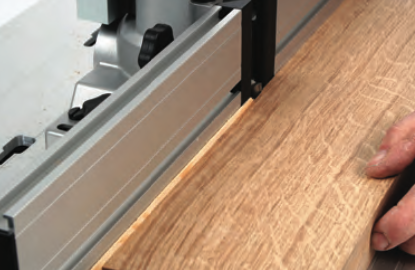
When you are cutting, keep the workpiece tight against the in-feed face until enough material has passed the cutter to sit firmly against the out-feed face.
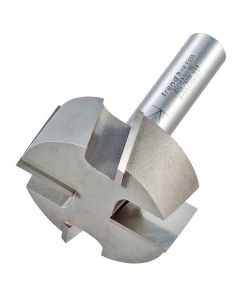
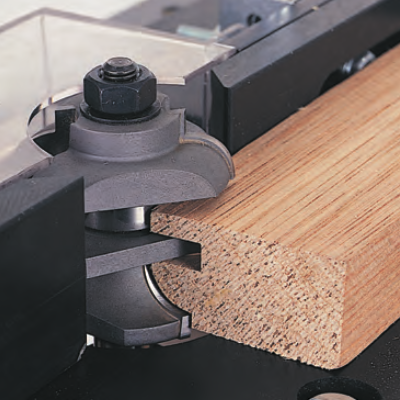
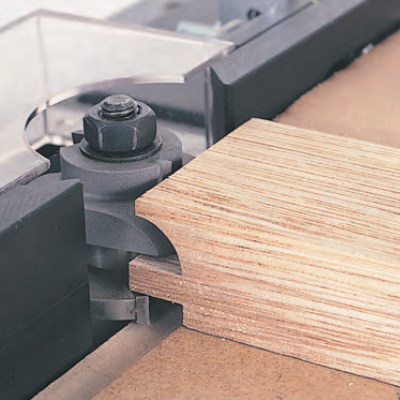
Using jointing cutters
Jointing cutters such as finger joint, comb joint, and tongue and grooving sets, should all be used in the router table rather than in a portable router as they require stability to obtain precise accuracy.
Even when using bearing guided cutters, initially, set them back into the table fence to allow the full depth to be cut in several shallow passes. Move the straight fence back to expose more of the cutter on each subsequent pass until the full depth is reached. This will always result in a more accurate joint.
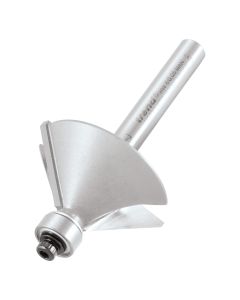
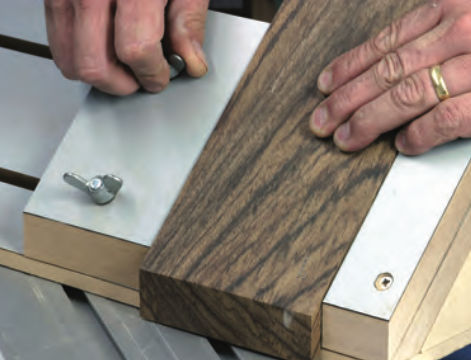
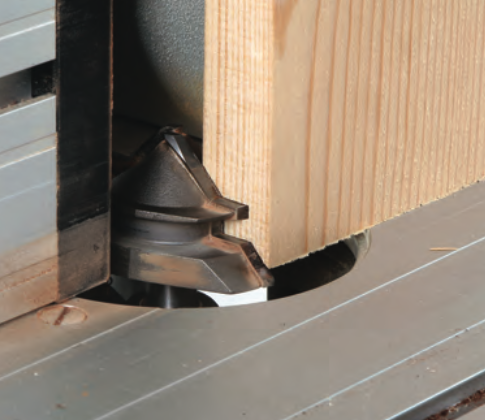
Scribing Sets and Profile Scribing Cutters
A scribed reverse mould and tenon on a rail or muntin can be cut using a profile scribing cutter with the router mounted in the router table.
Available with 8mm and 1/2” shanks they can even be used with medium duty routers if cut in two or three passes, taking a light cut on each run.
Before cutting the finished work, always make several trial cuts to check that the joint is tight and the faces flush.
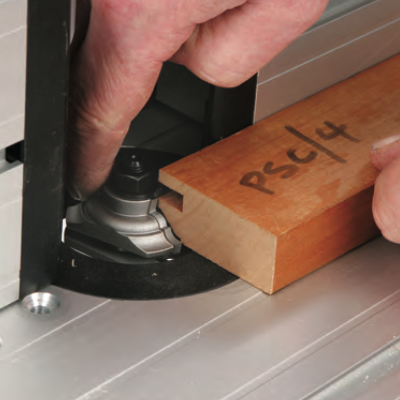
Having completed a perfect trial joint, keep it available for re-setting the cutter components for future projects.
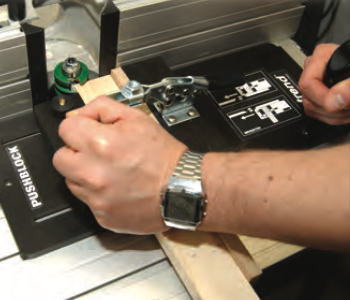
A dedicated push block with integral clamp makes end scribing cuts more consistent (Guard has been removed for clarity).
When cutting the rail or muntin ends, use a work holder to keep it square to the fence and fit a parallel waste batten to prevent break-out on the back of the timber.
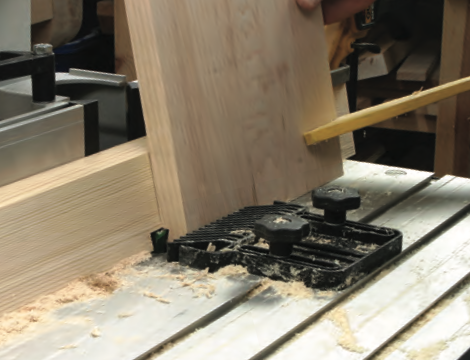
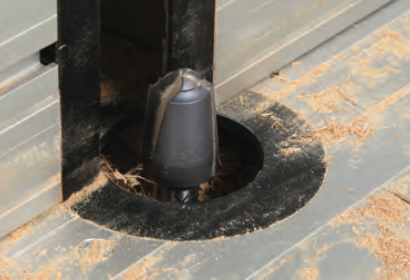
Large Diameter Cutters
A heavy duty router is needed for the larger diameter cutters and ones that have diameters larger than the cutter opening, like panel raising bits. These can be used in the router table by fitting a temporary MDF facing over the table.
If the existing table fence cannot be used, make up a suitable one and clamp it securely over the MDF.
The first cuts should be made across the grain at each end of the panel, as break-out at the ends of the cut will be removed when the panel edges are machined.
Vertical Panel Raisers
As they have a smaller diameter compared to horizontal panel raising cutters, these cutters can be used in medium duty routers fitted in the router table.
However, it is important that the panel is kept perfectly vertical against the fence throughout the pass. This can be helped by fixing a vertical board to the fence as an additional support.
Make the cut in a series of passes, raising the cutter on each until the full width of the mould is achieved.
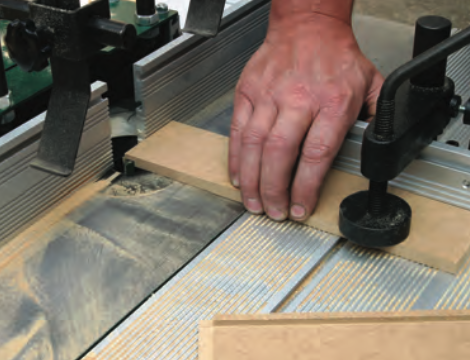
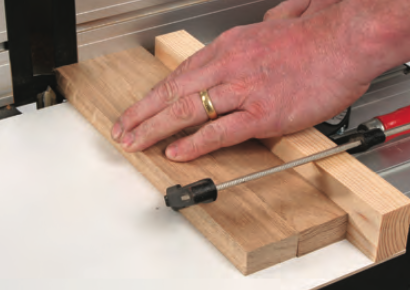
Halvings and Tenons
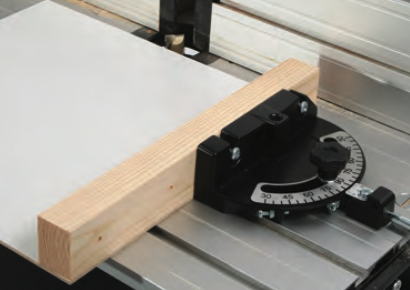
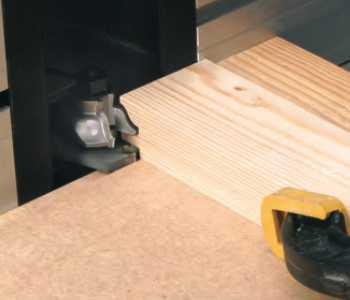
Halvings and Tenons can be cut using the sliding mitre fence, a work holder, or a slide fitted to the vertical fence. In all cases, use a spelch batten behind the work to prevent break-out.
With the former, where the work is held horizontally, use the largest diameter cutter possible running the rail end against the table fence.
If necessary, then re-position the fence to lengthen the cut from the end of the rail. If you use a work-holder several rails can be cut at the same time.
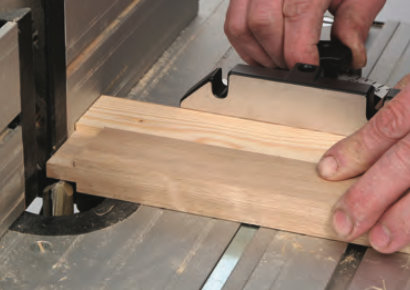
Dovetail Dados
It is far easier to cut the dovetail on the edge of a board on the router table, rather than with a hand-held router. However, depending on the size of the workpiece, the opposite often applies when cutting the matching dado. Always cut the dado first as it is easier to adjust the width of the tail to suit.
Run a trial piece across the cutter holding it vertical against the table fence. Turn the piece around and cut the other face. Check that the tail is a tight fit in the dado and adjust as necessary before cutting the first workpiece.
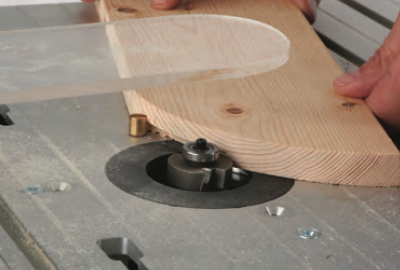
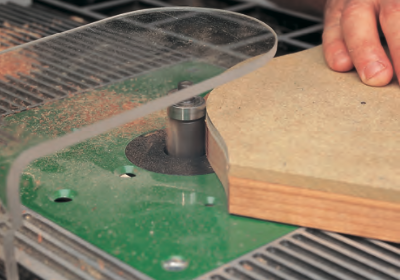
Curved and Shaped Work
Curved and irregularly shaped work can be guided and machined on the table by using bearing guided cutters or by mounting a bearing directly above a plain cutter. In both cases a guard must be fitted over the cutter and bearing.
Guide bearings can be run against the finished edge of the work itself for edge moulding operations, or against a template for edge trimming or profiling.
If you are machining curved work, always use a lead-in pin or a feed block to minimise the risk of the cutter ‘snatching’ the workpiece as it is fed into the cutter.
A similar arrangement can be fitted to prevent work from being pulled behind the cutter as it leaves. However, on small radius curved work this may not be possible.
For trimming or moulding edges this way, it is better to allow extra waste at both ends of the workpiece. This will provide a lead-in and lead-out section allowing the work to be fed smoothly onto the cutter. Templates can also be used in a similar way to provide the same effect.
Take care with small or narrow workpieces. Where possible make up a simple work- holder to provide safer control of the work.